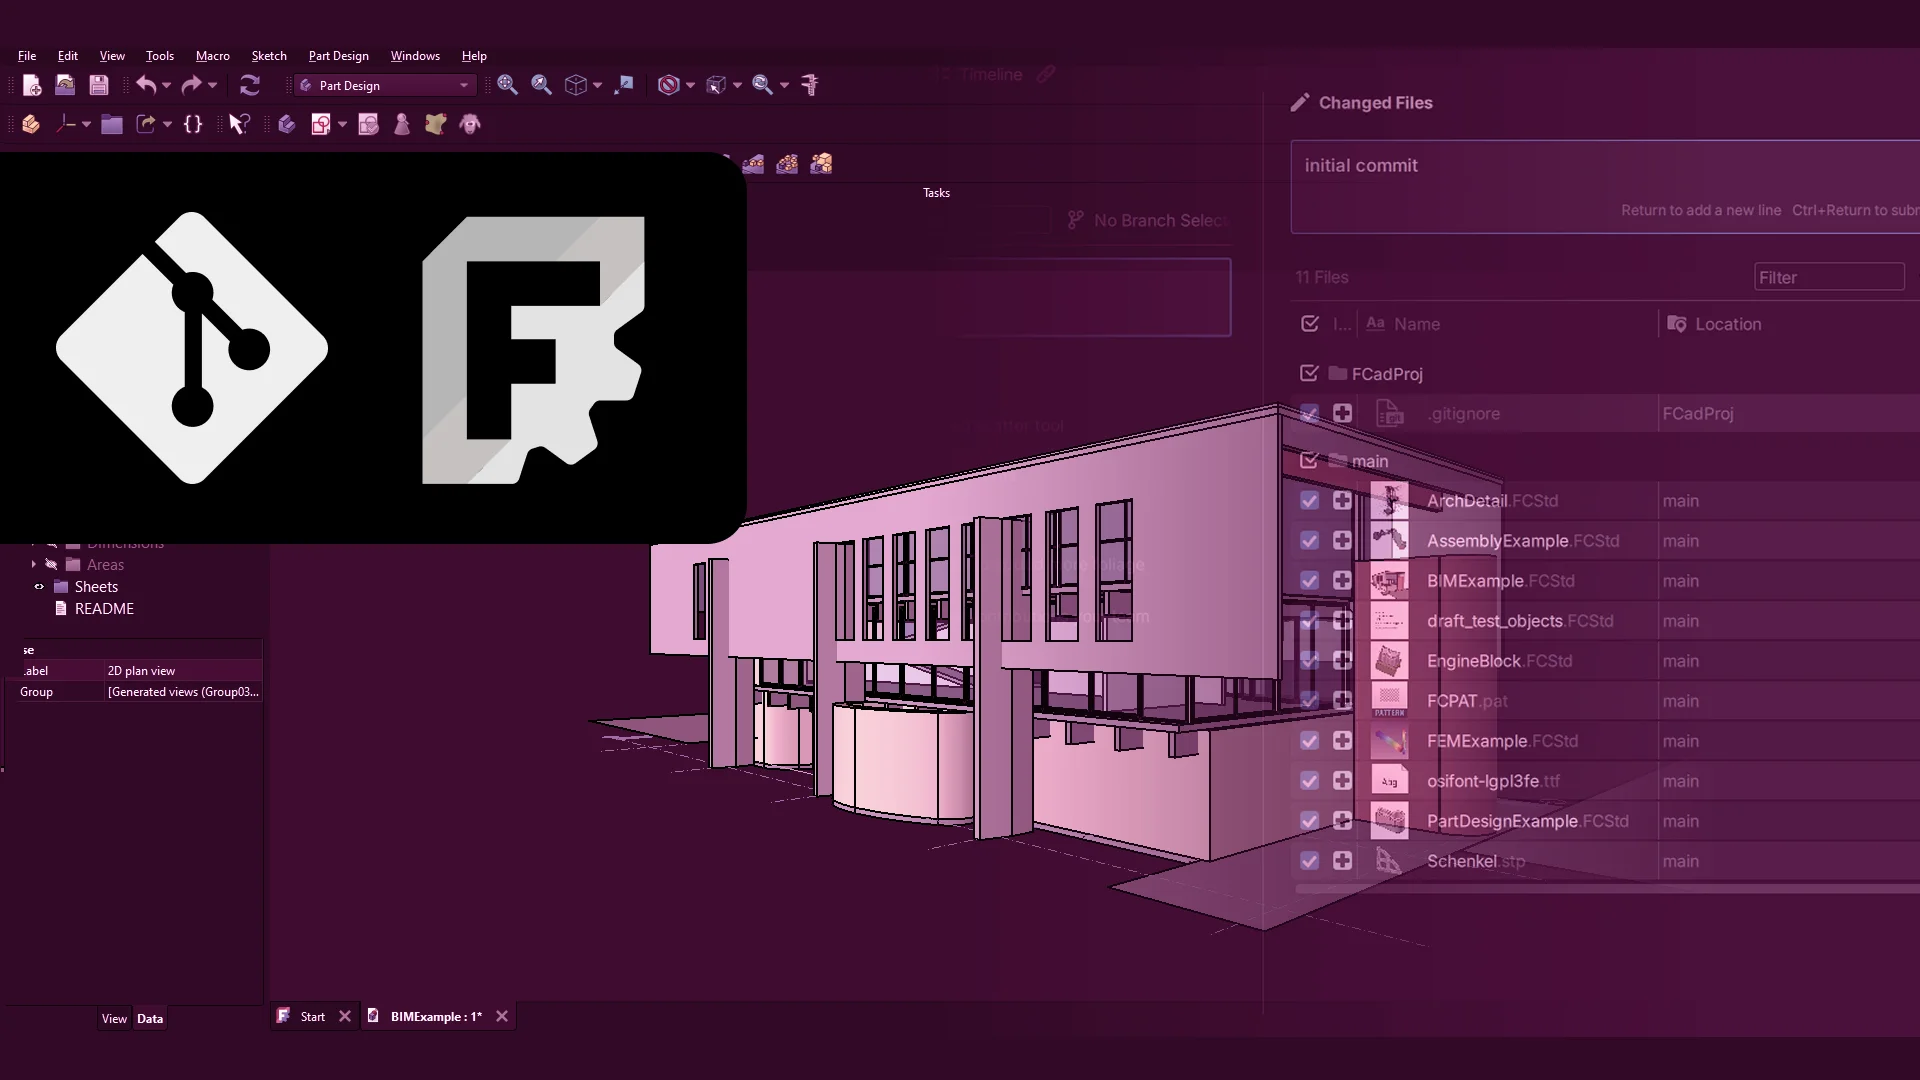
Git with FreeCAD
Learn how to effectively use Git version control with FreeCAD. This guide includes steps on how to set up your first repository on GitHub with Anchorpoint.
April 22, 2026
9
min read

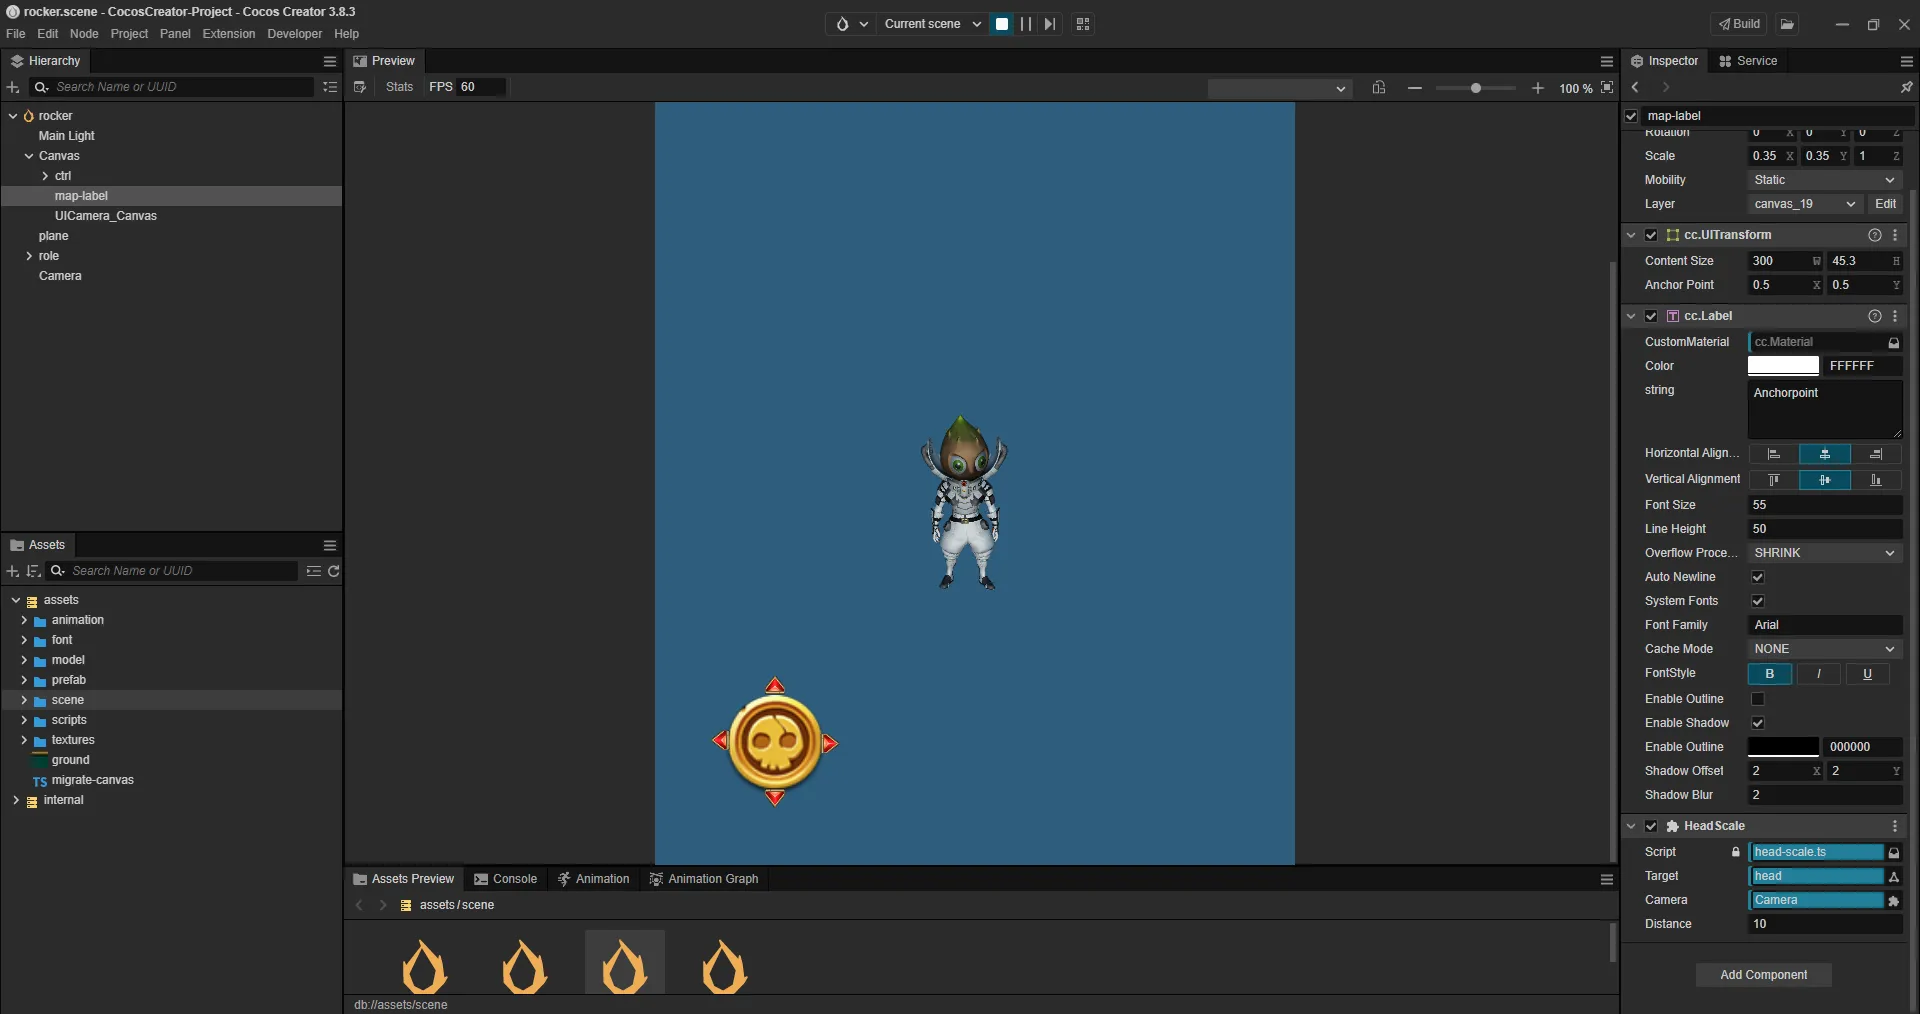
In this tutorial, you will learn how to configure GitHub for a Cocos Creator project, using Anchorpoint as our Git client to push and pull files to and from GitHub. The free version of Anchorpoint supports all of this functionality.
Git is a widely used version control system, used in over 90% of all software development projects, and has a large ecosystem that includes services such as GitHub, GitLab, and Azure DevOps.
GitHub is one of the most popular cloud repositories that integrates with the Git version control system, and offers many additional features to help manage and automate tasks.
To upload your files to GitHub's cloud service, you can use Git's version control commands or take a simpler approach with a desktop application like Anchorpoint, which easily pushes and pulls files to and from GitHub.
Git is a free, open-source version control system, while GitHub offers several plans, including a free tier for unlimited users with 1GB of storage and 1GB of monthly bandwidth. For larger projects, Azure DevOps is an alternative that offers free access for up to 5 users with unlimited storage.
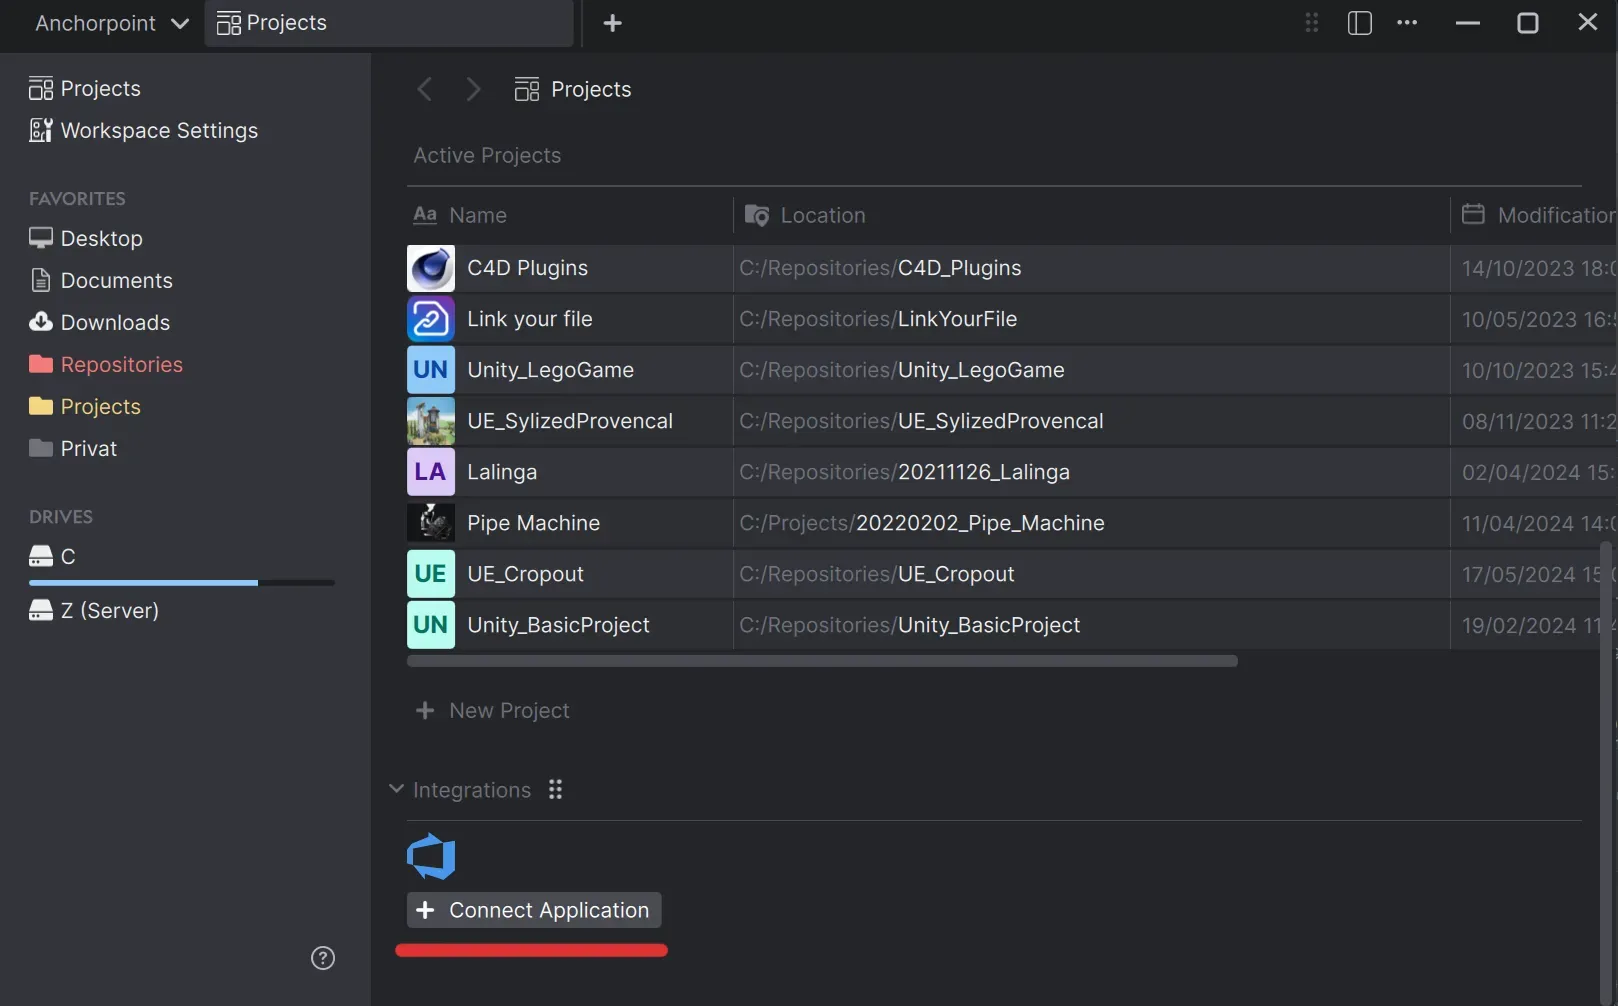
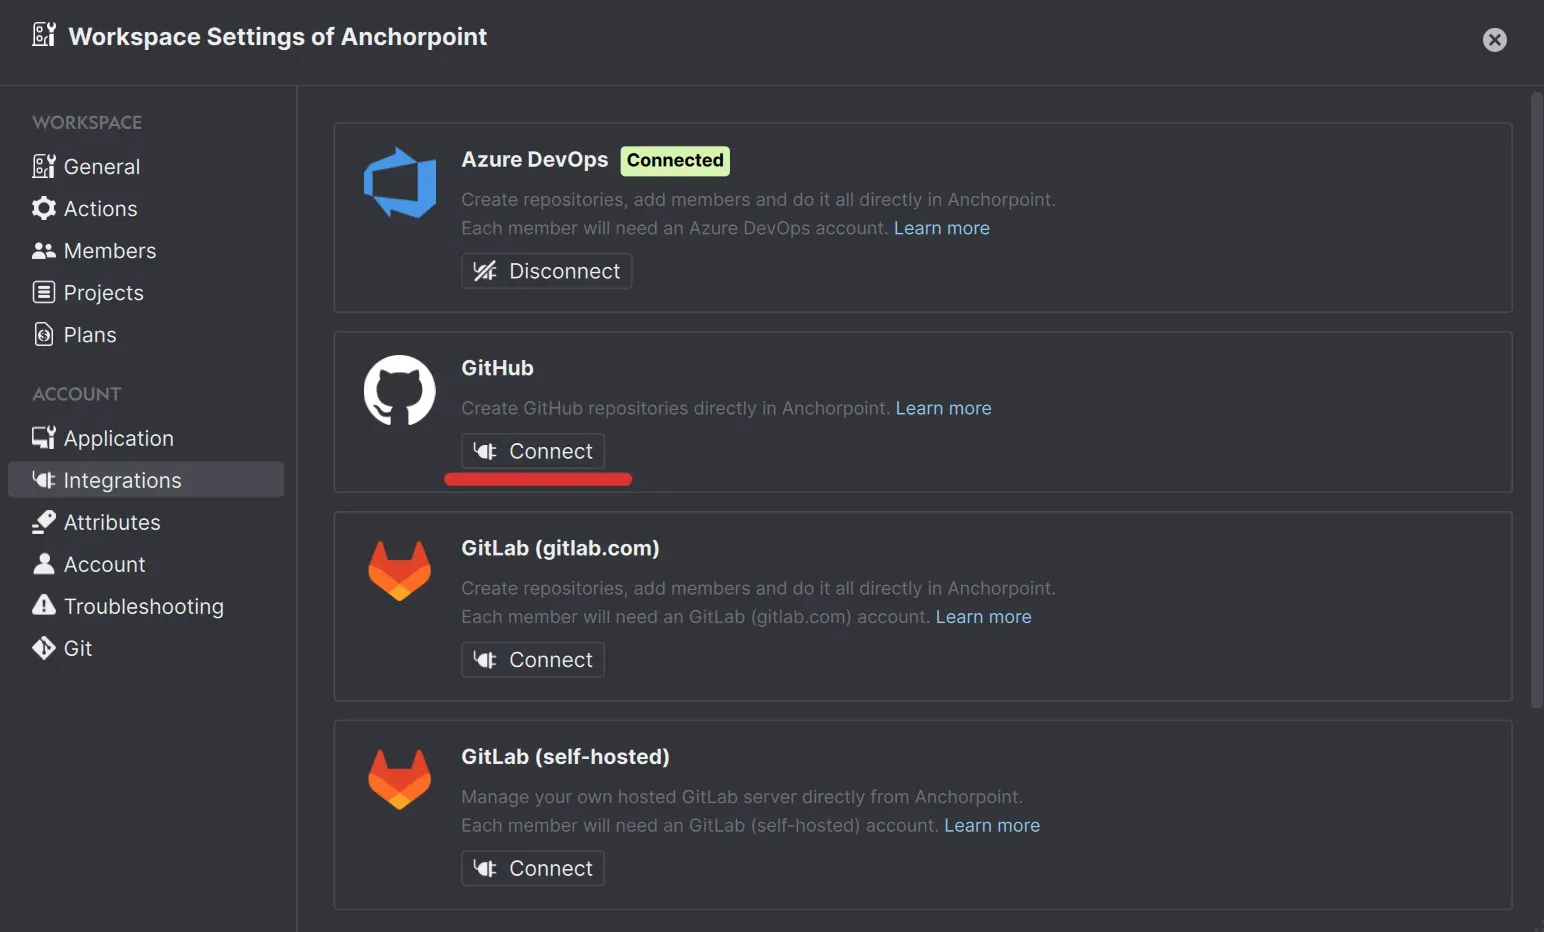
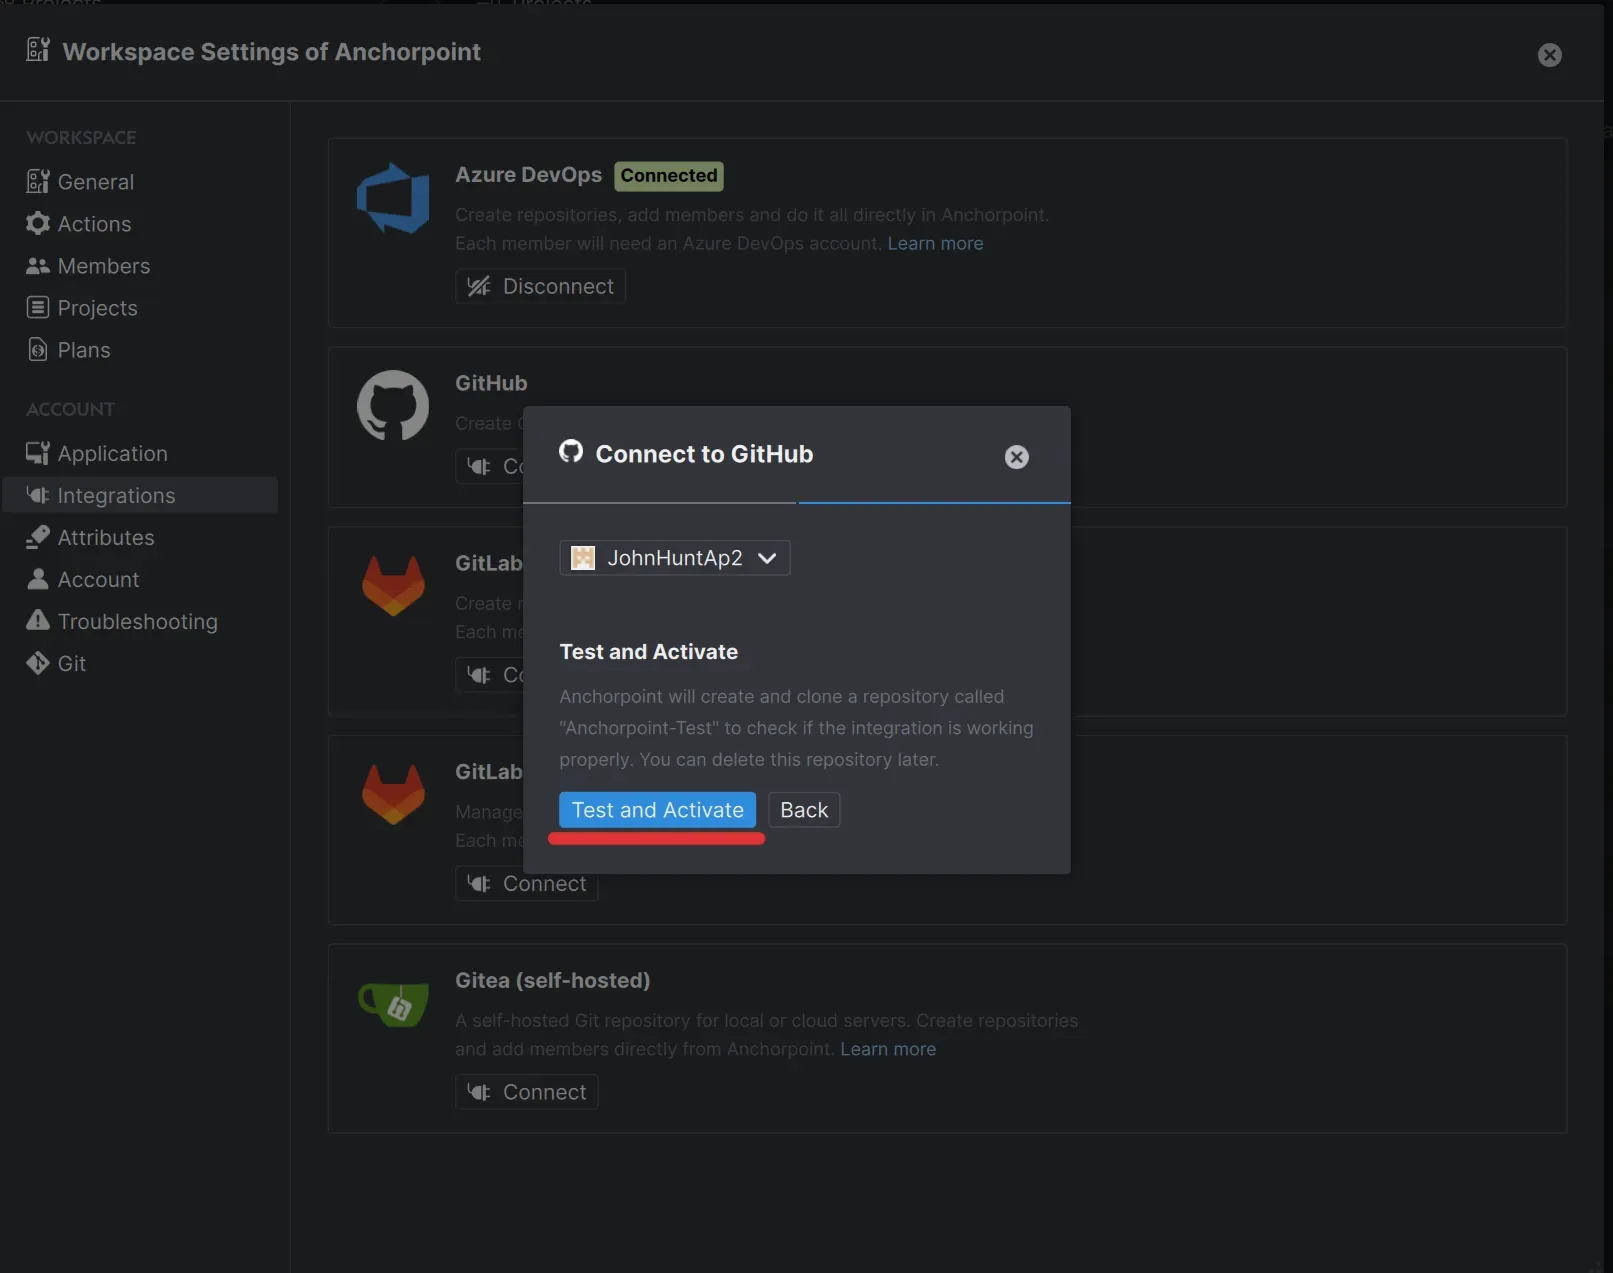
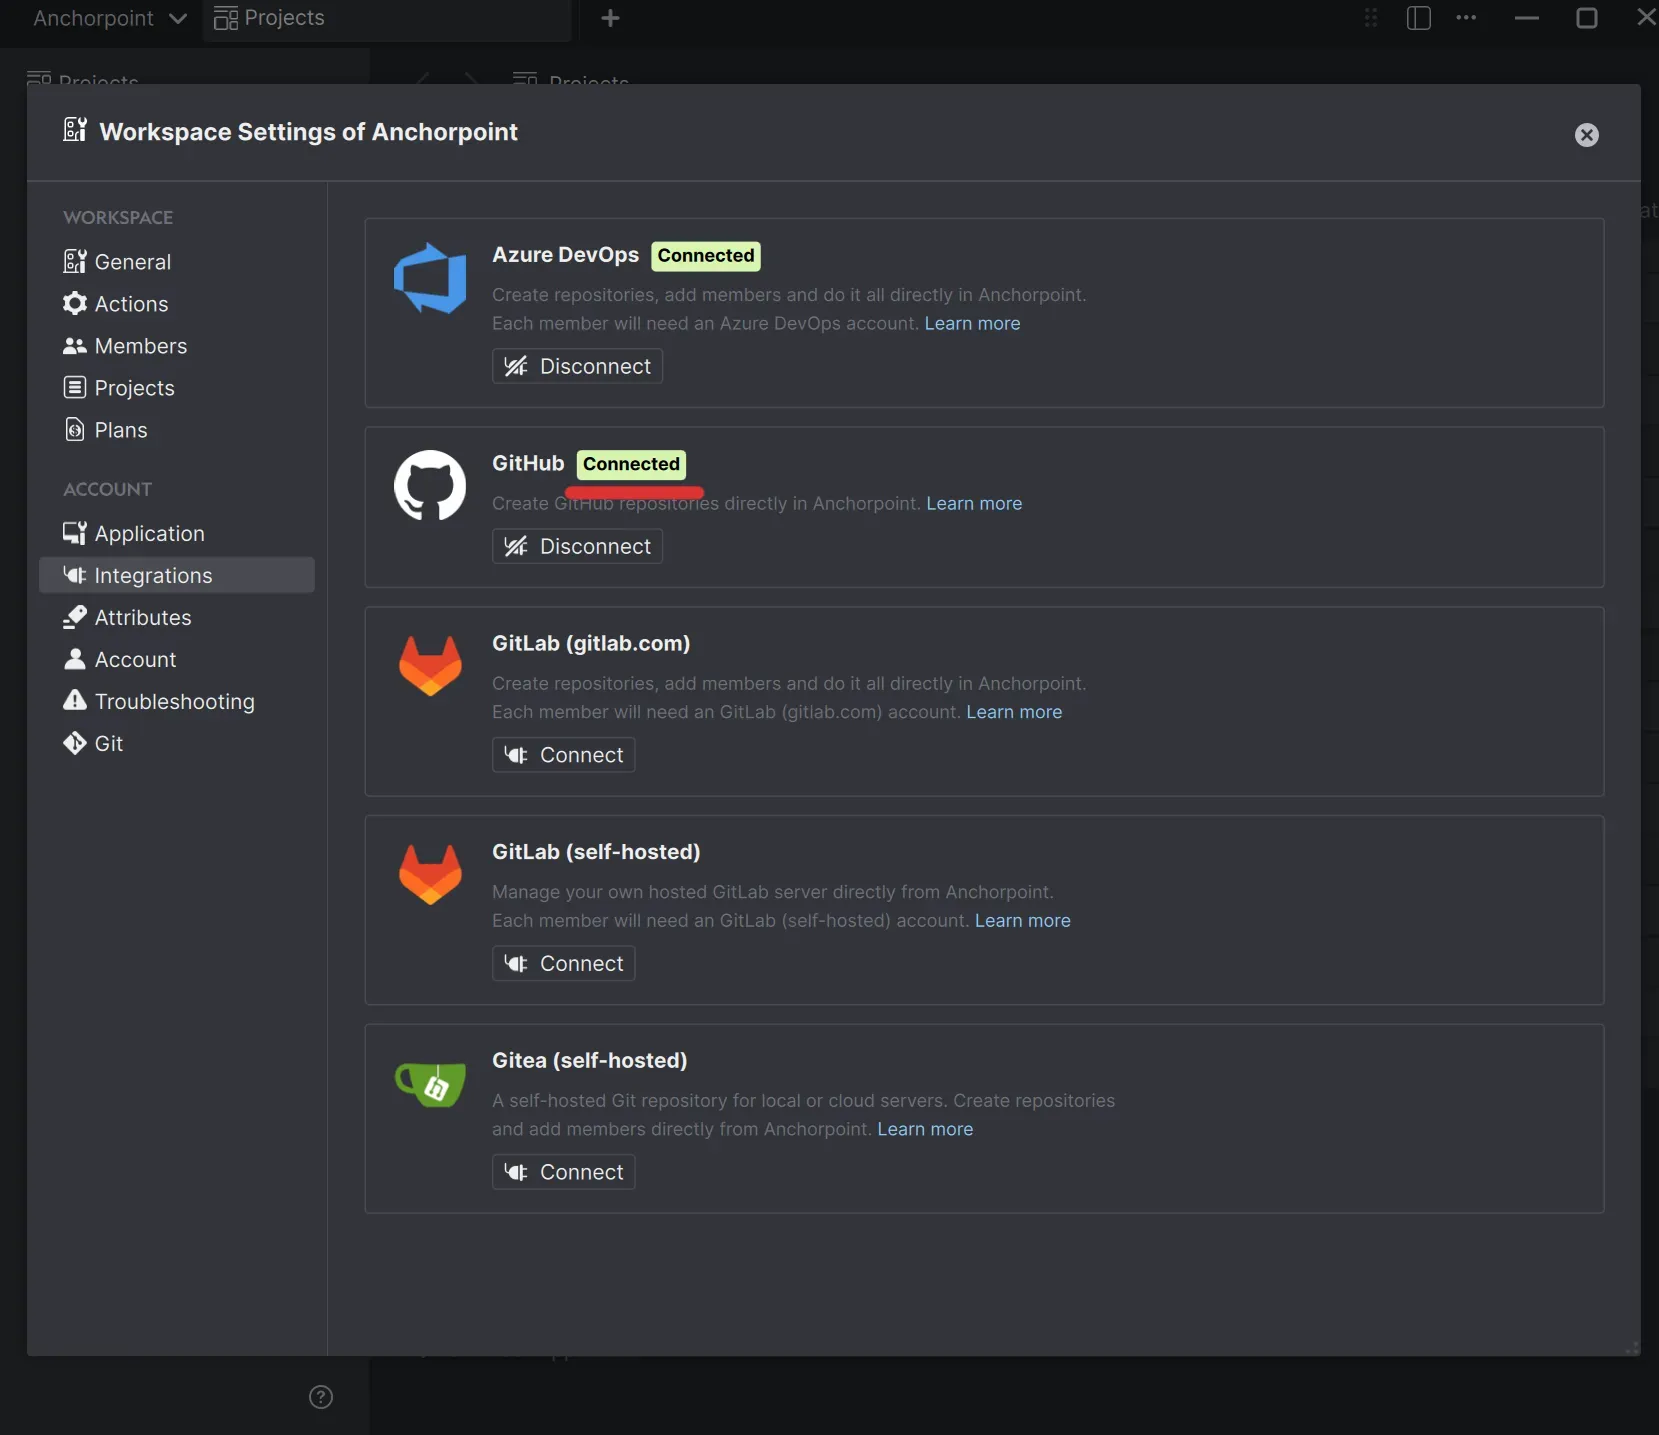
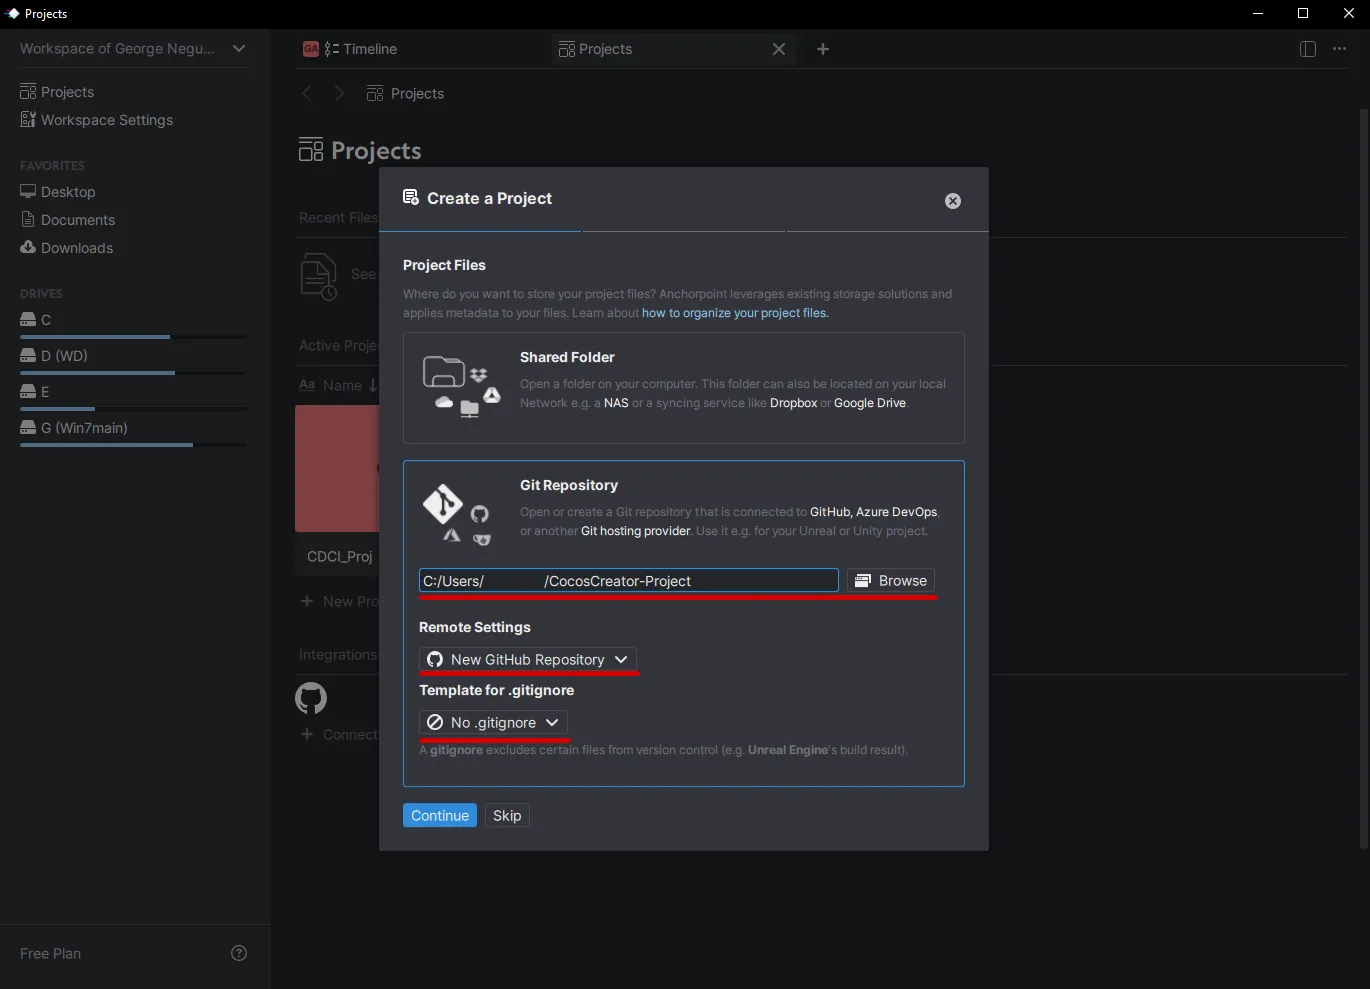
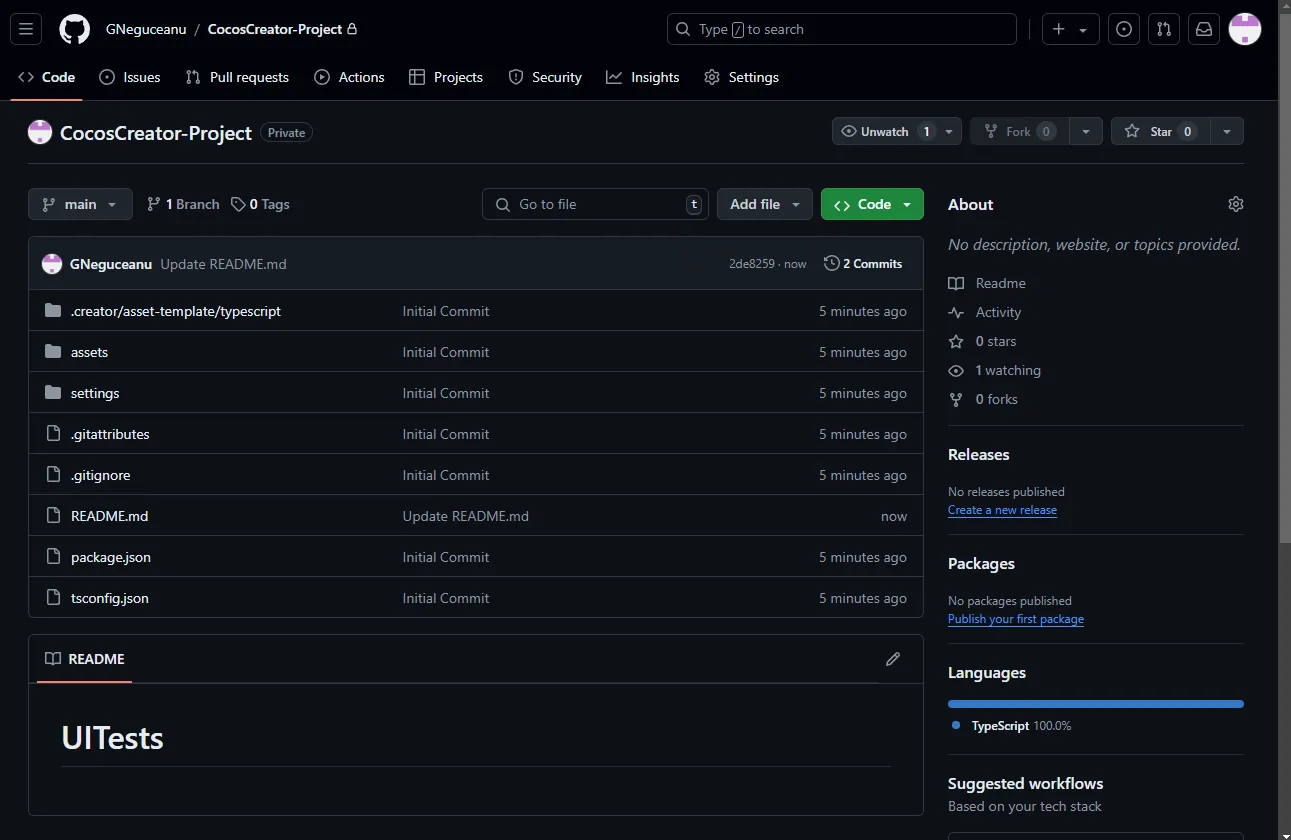
The first step is to set up GitHub, which will serve as the repository for our Cocos Creator project.

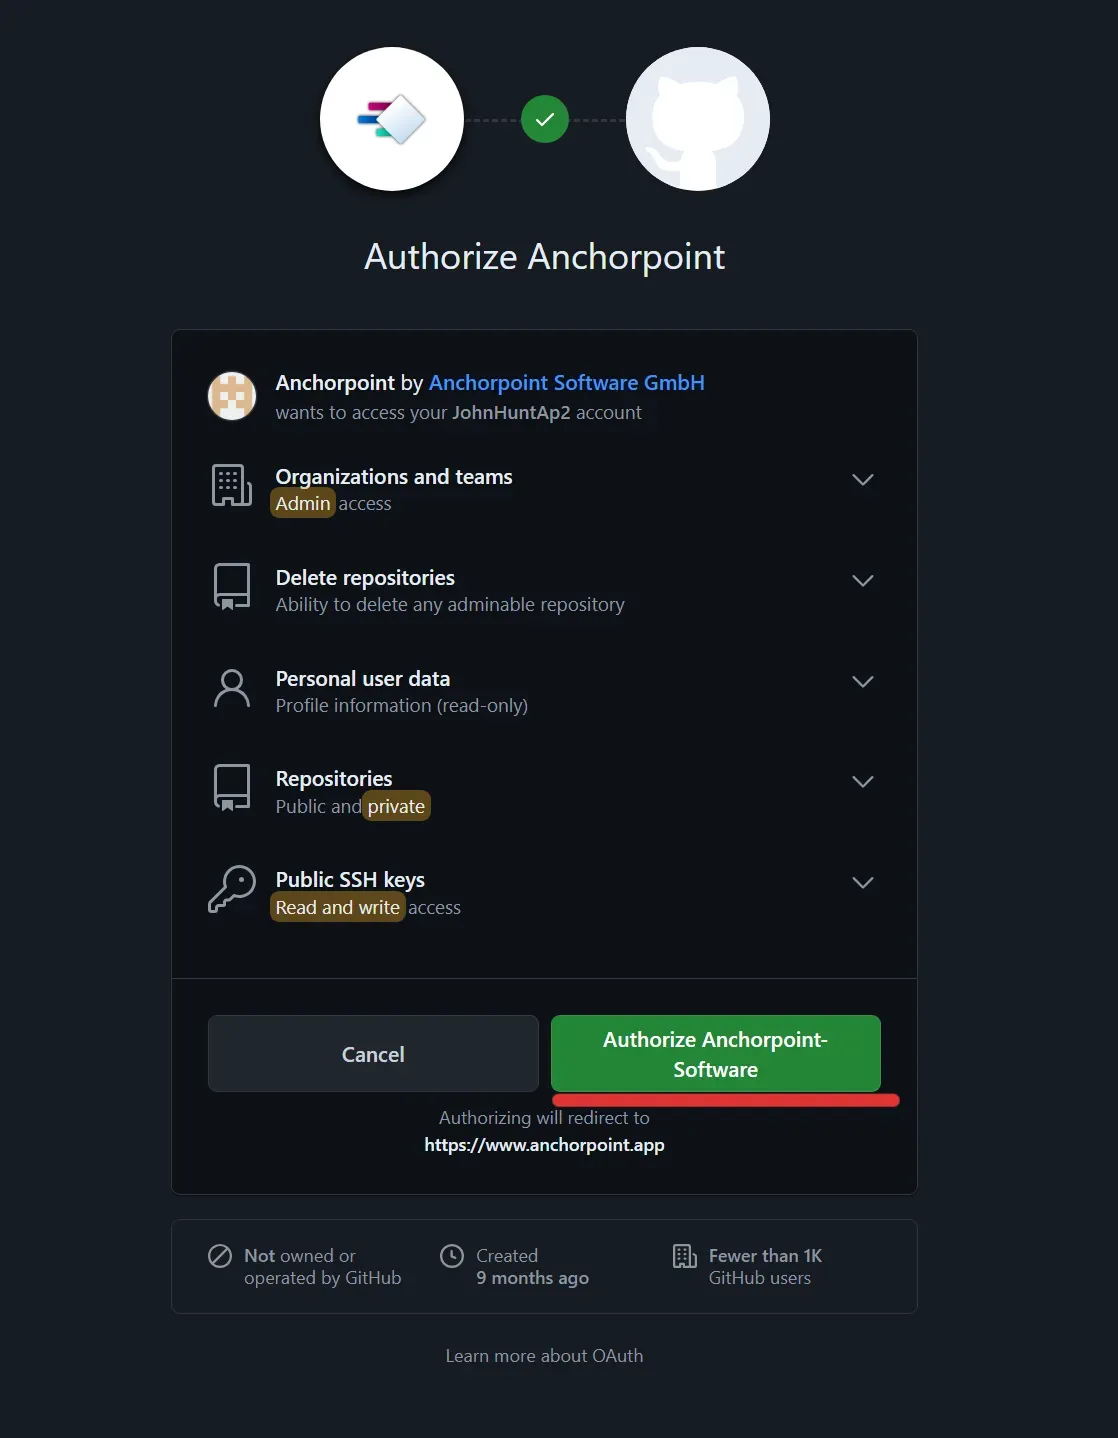
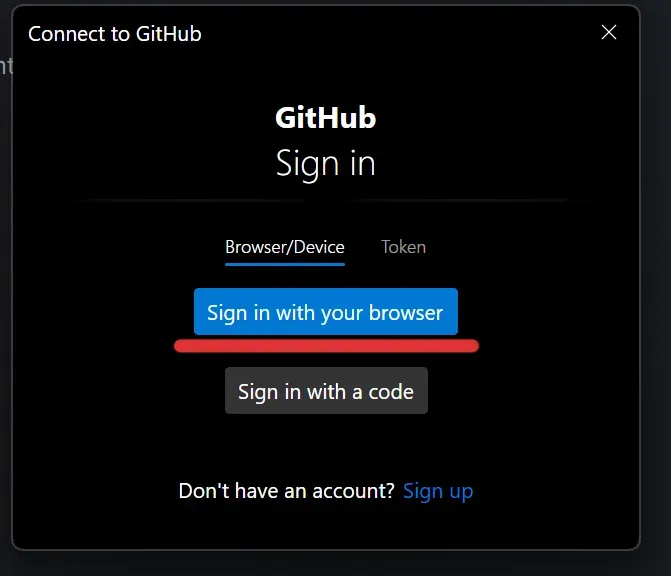
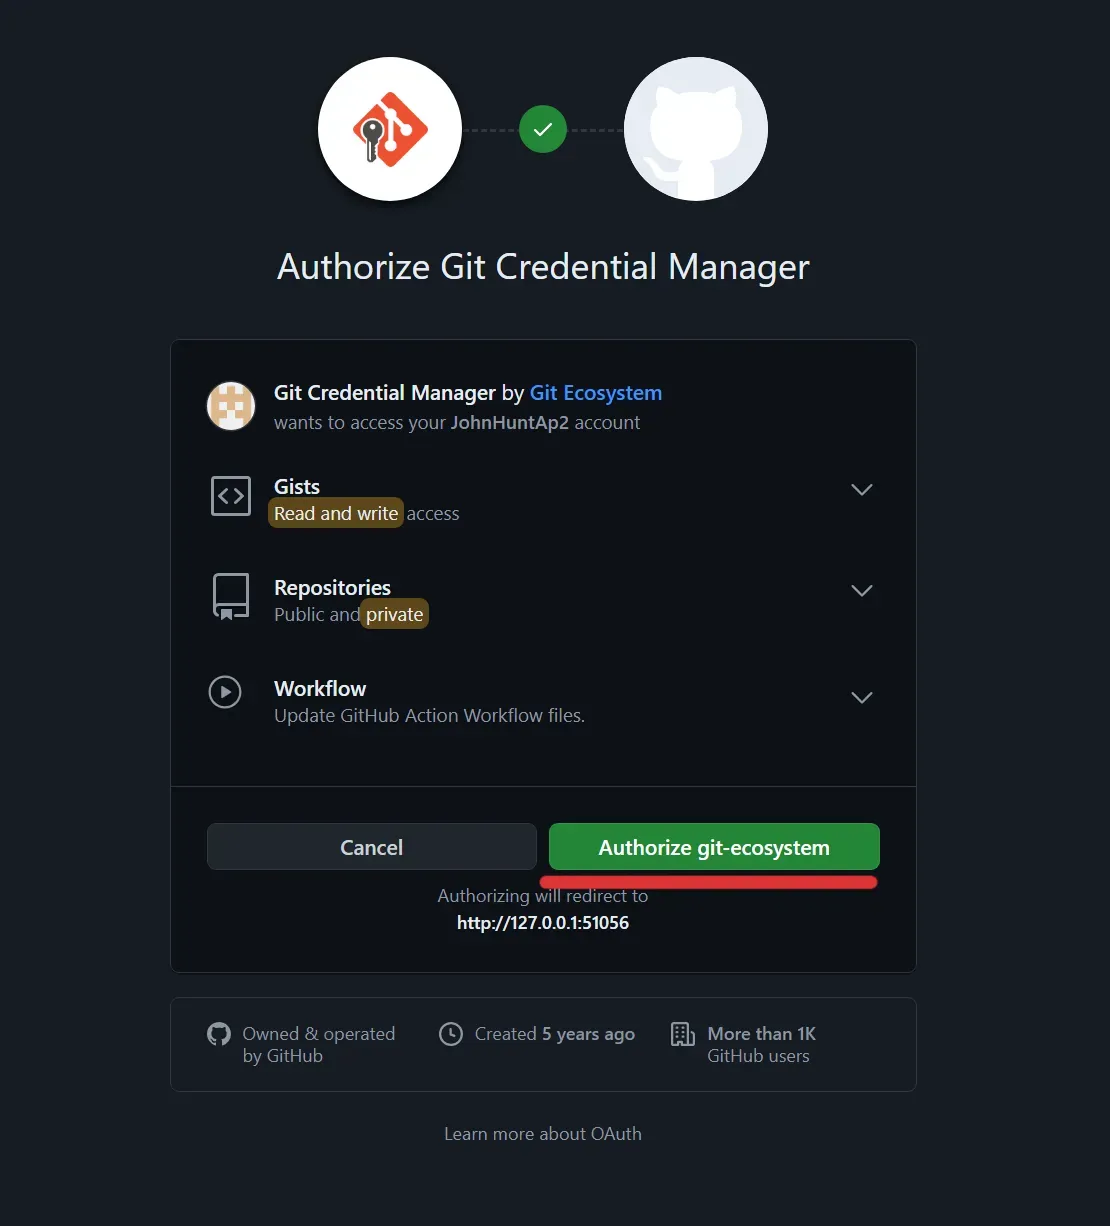
In this example, we’ll use Anchorpoint, but any other Git client will work too. If you opt for a different Git client, you’ll need to create the repository on GitHub and then paste the remote URL into your Git client. With Anchorpoint, we’ll utilize the built-in GitHub integration.

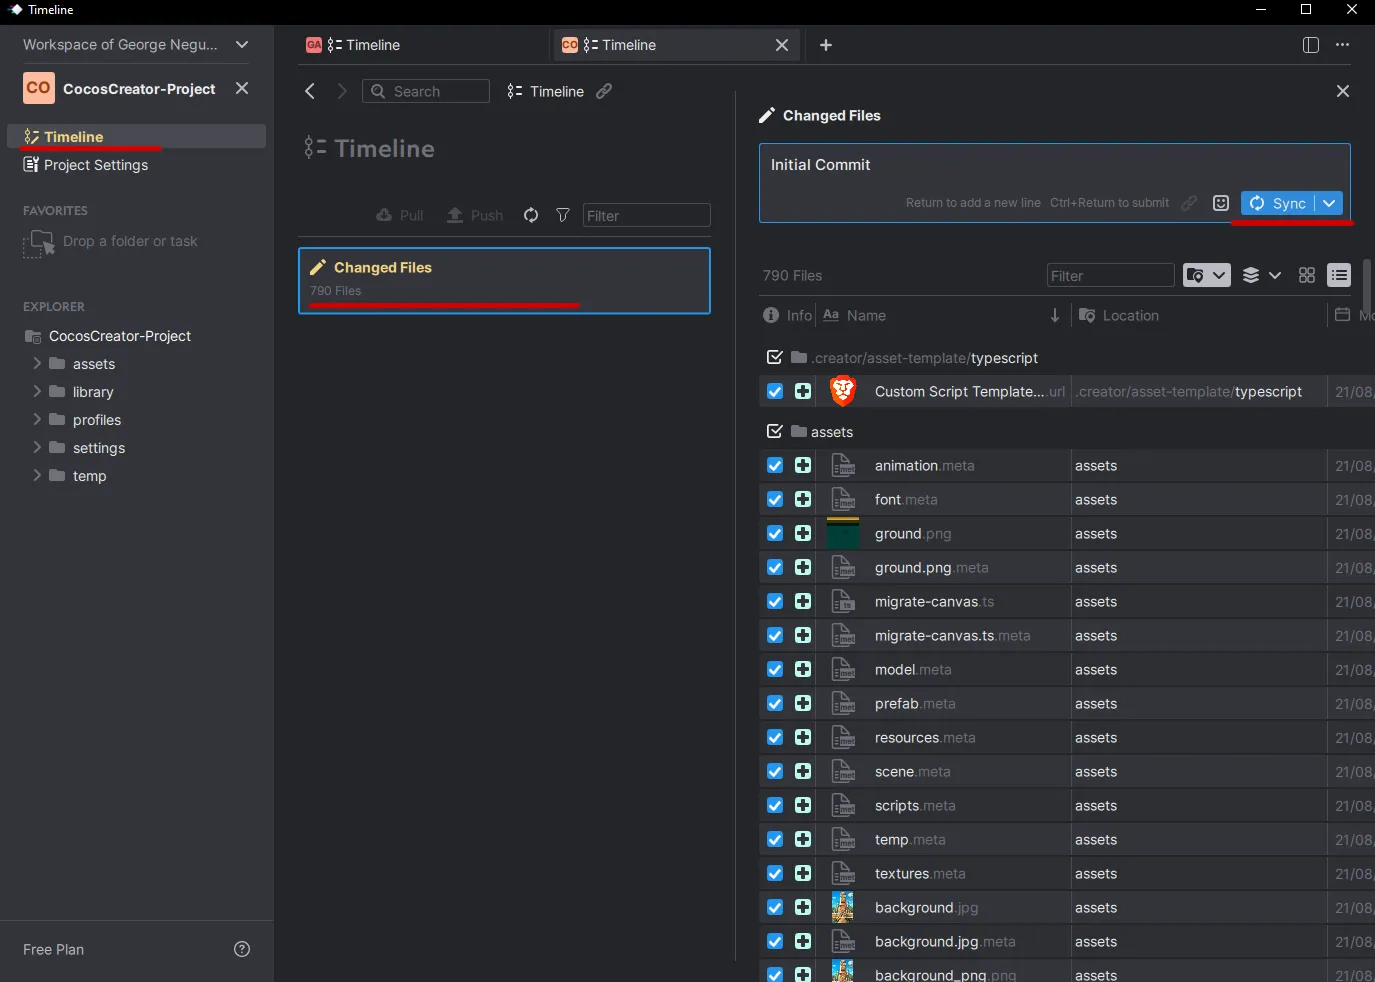
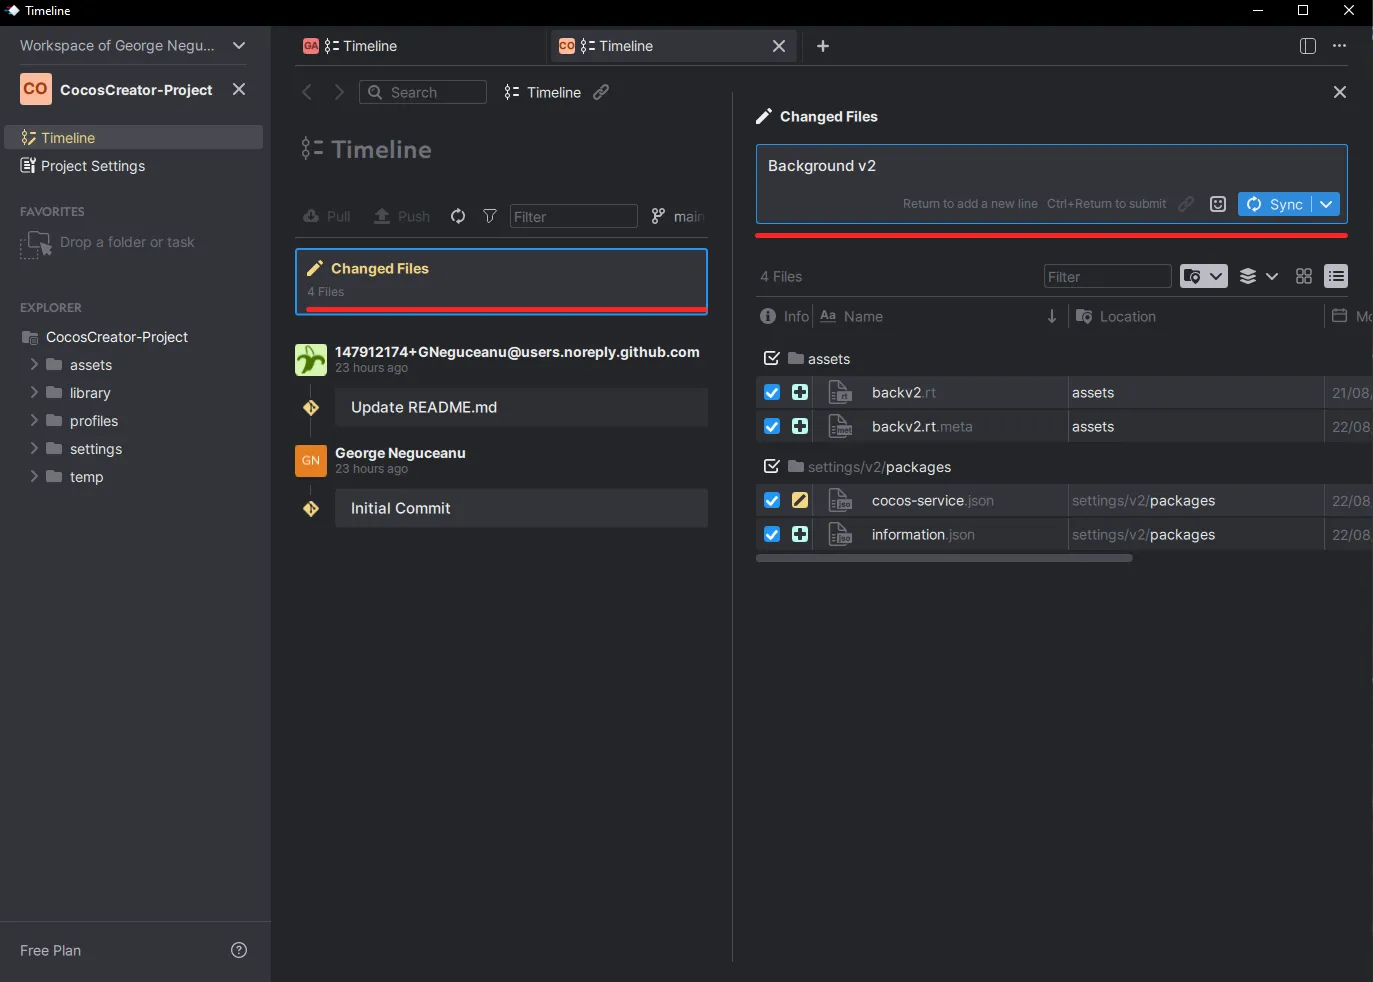
Making daily commits a regular part of your workflow is essential. Whenever you make a significant change, such as creating a new version of a character or implementing a major adjustment to a game mechanic, it’s important to commit those changes. Git commits are quick because they occur locally. Once the commit is done, you can keep working while all your files are pushed to GitHub in the background.
When using Anchorpoint, working with Git is essentially a two-step process. For instance, you can browse your Timeline, add a comment, and then press Push.
Here are the typical steps to follow:
To prevent file conflicts, some teams work across multiple branches, such as one for programming and another for design/art. The programmers might then merge the branches at the end of the week. Other teams work on different copies of the same level—one for coding and one for design/art—and merge them later.
Desktop version control tools like Anchorpoint include a file locking feature that allows you to lock a file while you’re working on it, helping to avoid conflicts during the project.
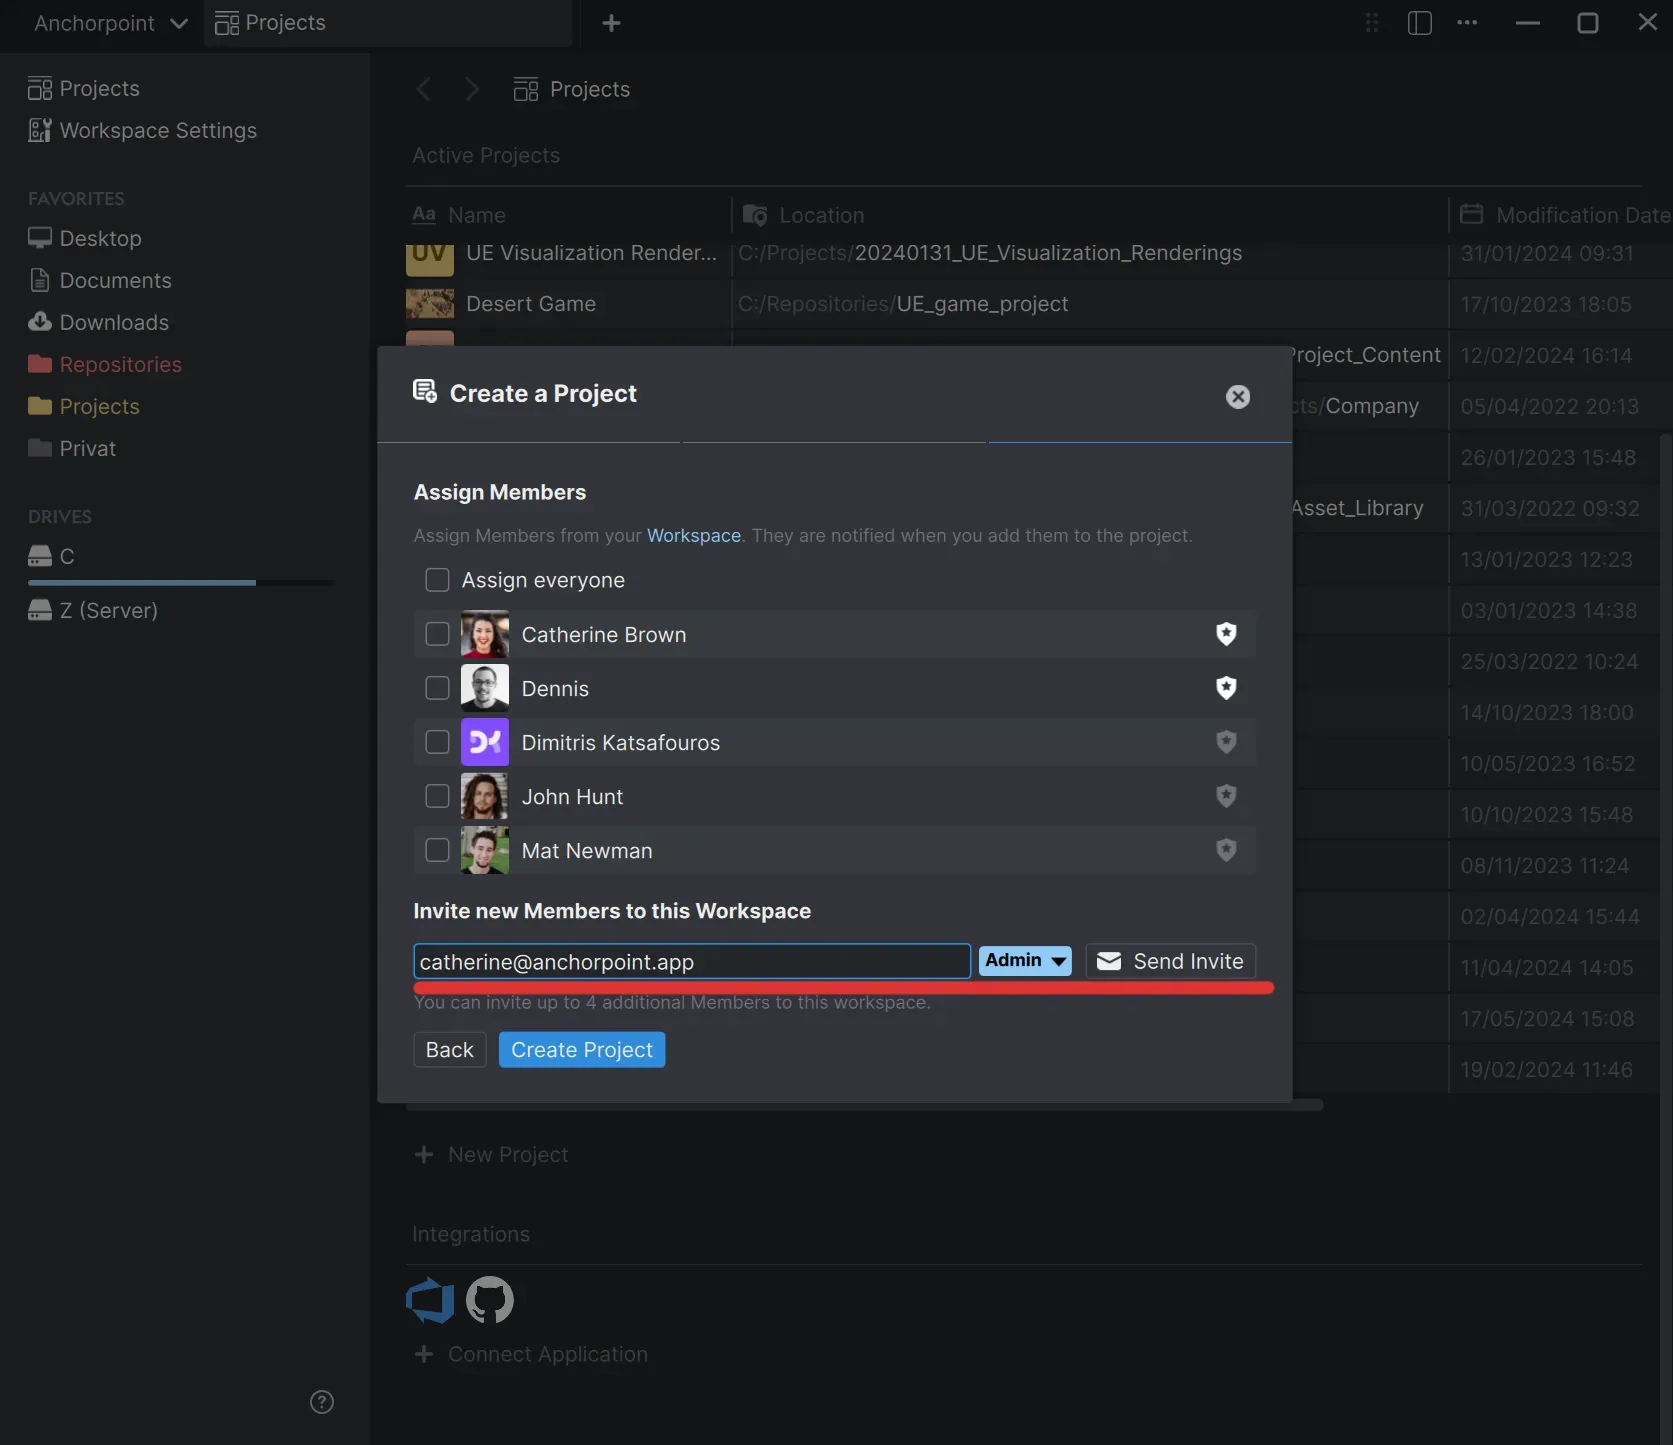
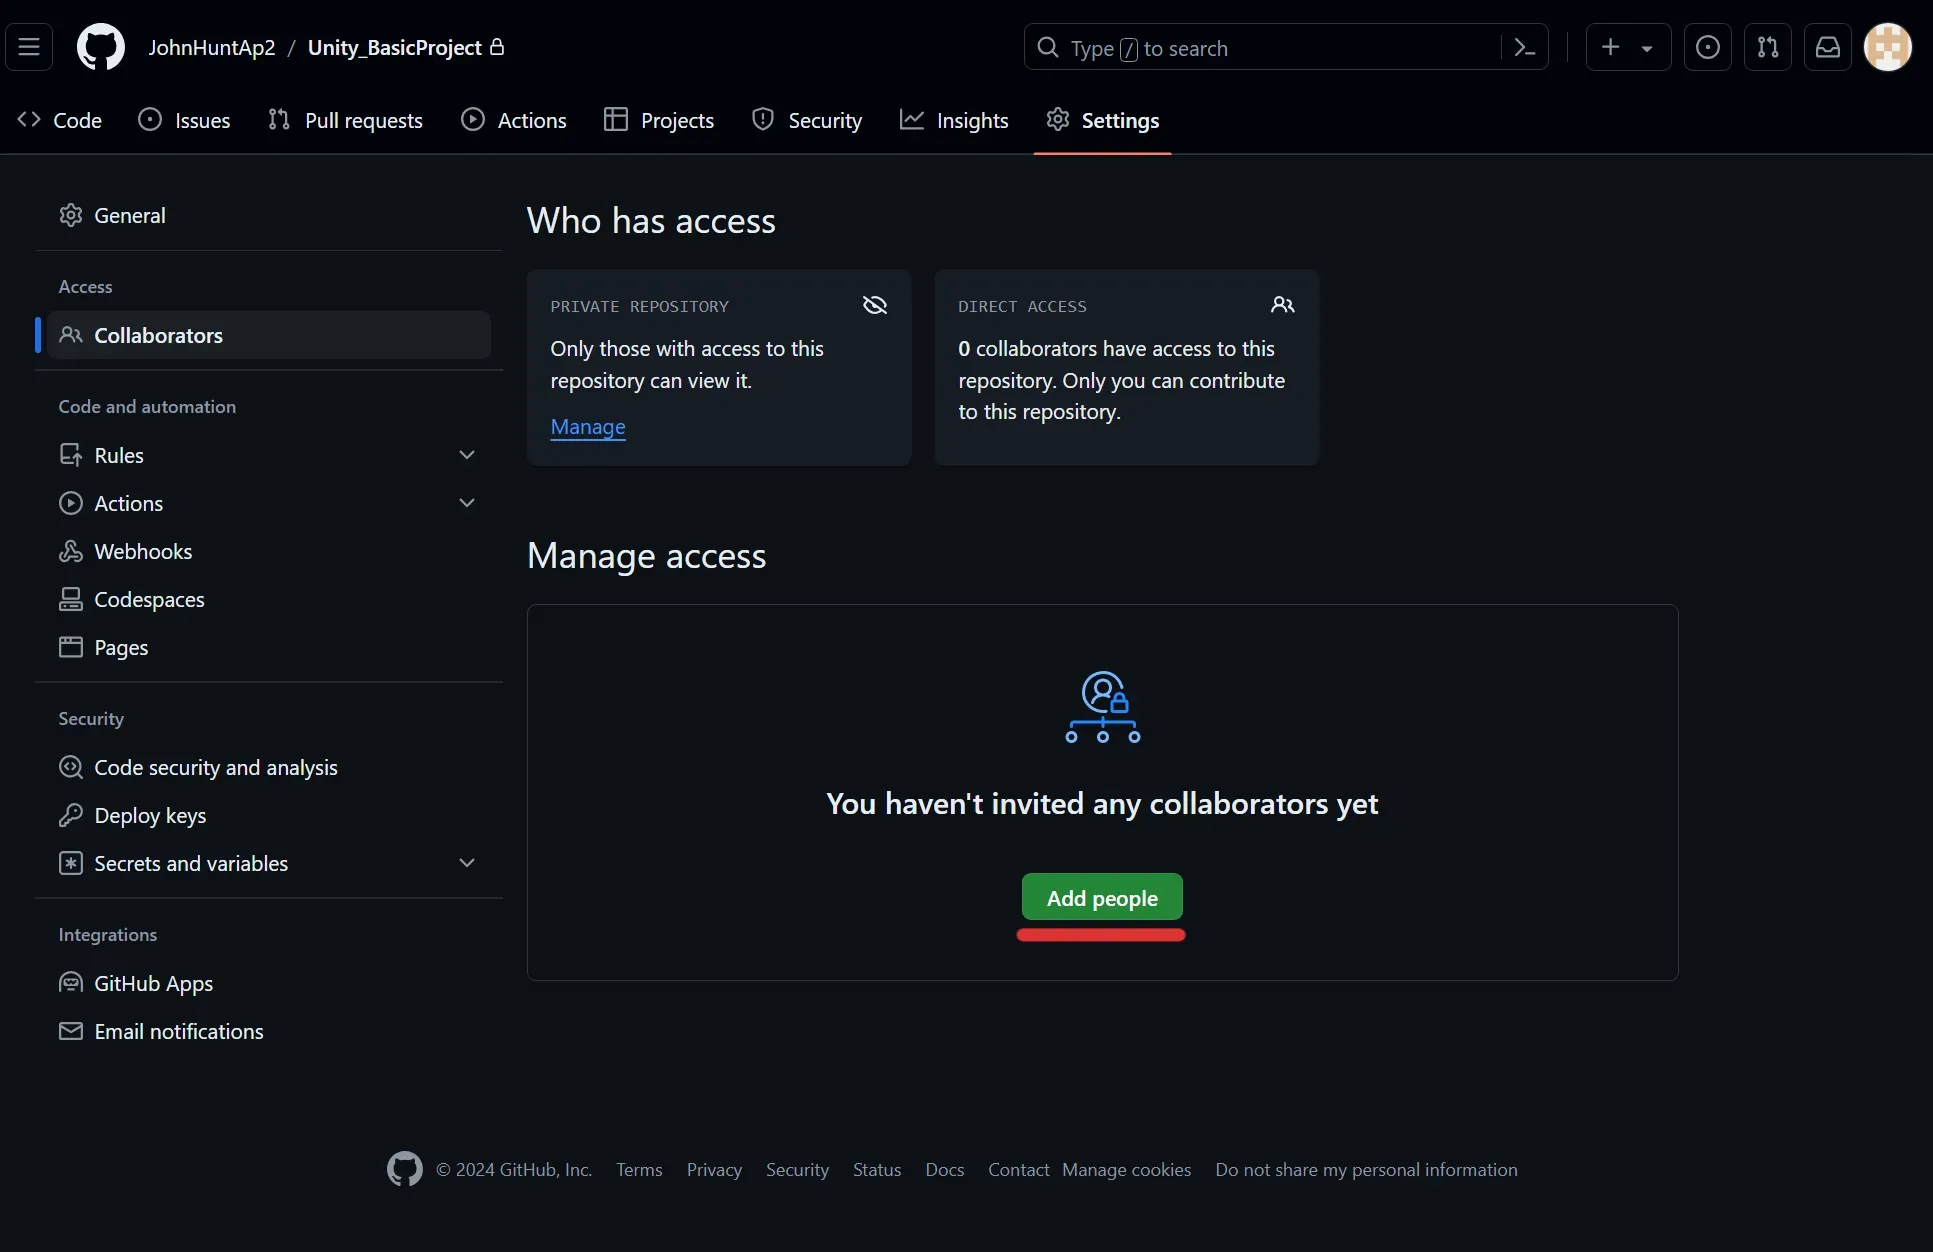
GitHub: Team members need to create a GitHub account and accept your invitation.
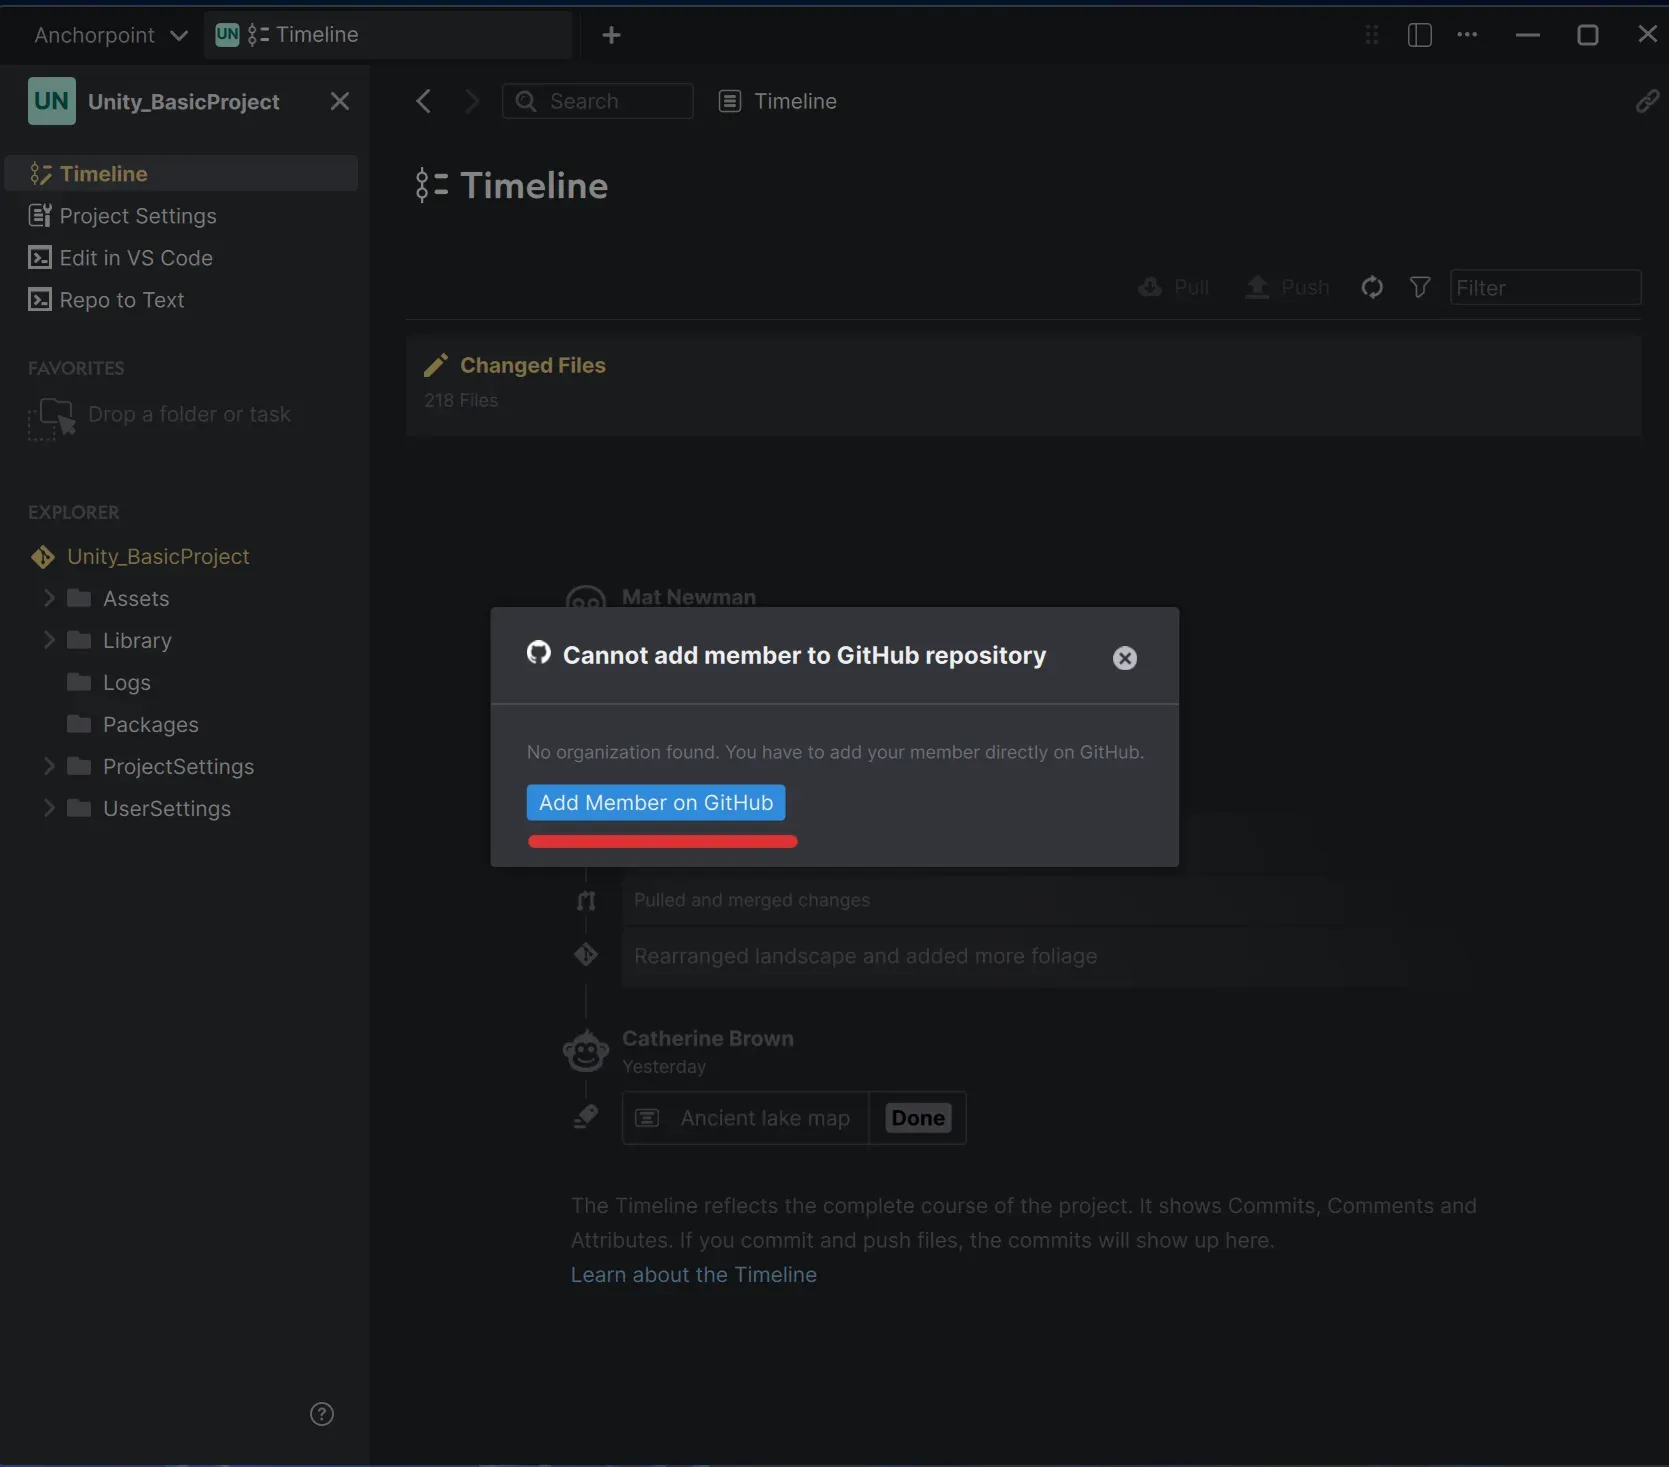
Anchorpoint: After receiving an invitation email from Anchorpoint, they will need to download, install, and create an account. Upon their first login, they’ll need to accept the invitation, and the project will automatically be detected and opened.
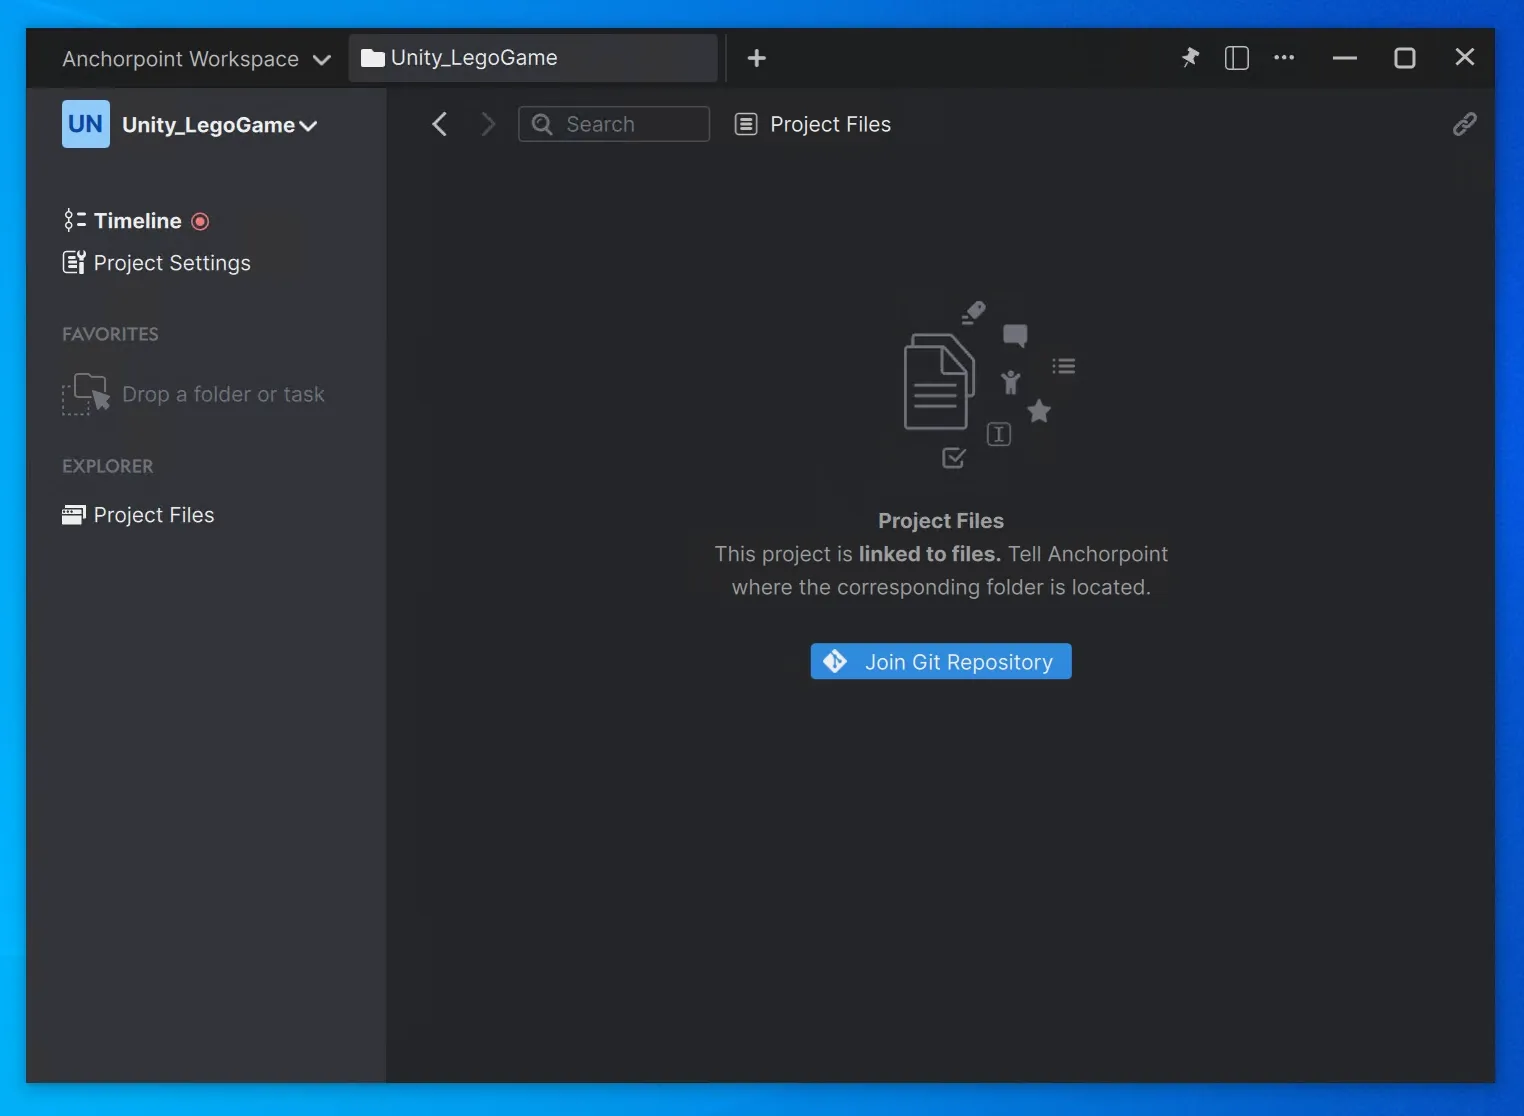
When clicking “Join Git Repository,” Anchorpoint will ask for a location to download the files. In some cases, a popup may appear prompting your team members to install Git before Anchorpoint can proceed.
During the download process, a GitHub authentication pop-up will appear, requiring team members to log in to GitHub for Anchorpoint to download the files.
GitHub's free plan has storage and bandwidth limits. If you exceed these limits, Anchorpoint will reject the push and you'll receive an error message. If your project is large, consider alternatives such as Azure DevOps or self-hosting your Git server with Gitea.
On GitHub's free tier, file sizes are limited to 2GB using the Git LFS. This limit increases to 4GB on a paid plan.
The free plan includes 1GB of repository space and 1GB of monthly bandwidth. For more, you'll need to purchase LFS storage packages, which will cost you $5 per 50GB per month.
Currently, the free tier on GitHub provides 1GB of storage. If you need more, you can purchase storage packs. However, if you anticipate needing more than 150GB, it may make more sense to switch to Azure DevOps, which currently has no storage limits.
A .gitignore file plays a critical role in managing your Cocos Creator projects with Git. It contains a set of rules that tell Git which files to exclude from version control. When you create a Cocos Creator project, the .gitignore file is created automatically. Different game engines like Unity and Unreal have their own specific .gitignore settings.
Git was originally designed to handle code that is mostly text files. However, game development involves a lot of binary files, such as 3D models, textures, and sound files. To maintain efficiency and avoid downloading the entire history of your 3D models and textures, Git introduced an add-on in 2014 called Git LFS (Large File Storage). This add-on is now integrated into nearly all Git products and services. With Anchorpoint, you don't have to worry about Git LFS commands because they are handled automatically in the background. If you're using other Git clients, you'll need to configure Git LFS at the start of your project.